Let’s get down to the root of the matter! Growing ginger can be a rewarding experience, adding a fresh, zesty flavor to your cooking straight from your own garden (or even indoors!).
Spice Up Your Life: A Guide to Growing Ginger at home.
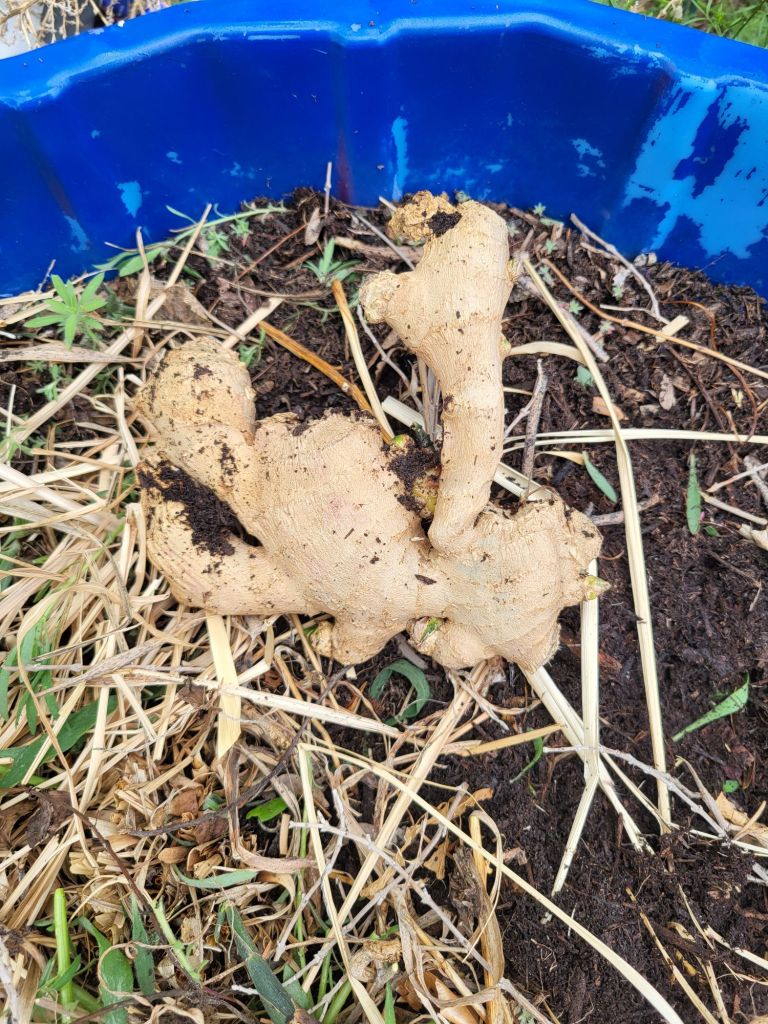

For what it’s worth I had been ill and it was suggested to me to make a ginger tea. I picked out two decent rhizomes. I ended up going to bed shortly after getting home with them and promptly forgot about them. They’d slipped behind our instant.
It was probably two weeks later that I stumbled across them again, I was almost afraid to look, I just knew they had spoiled and would be headed to the compost pile.
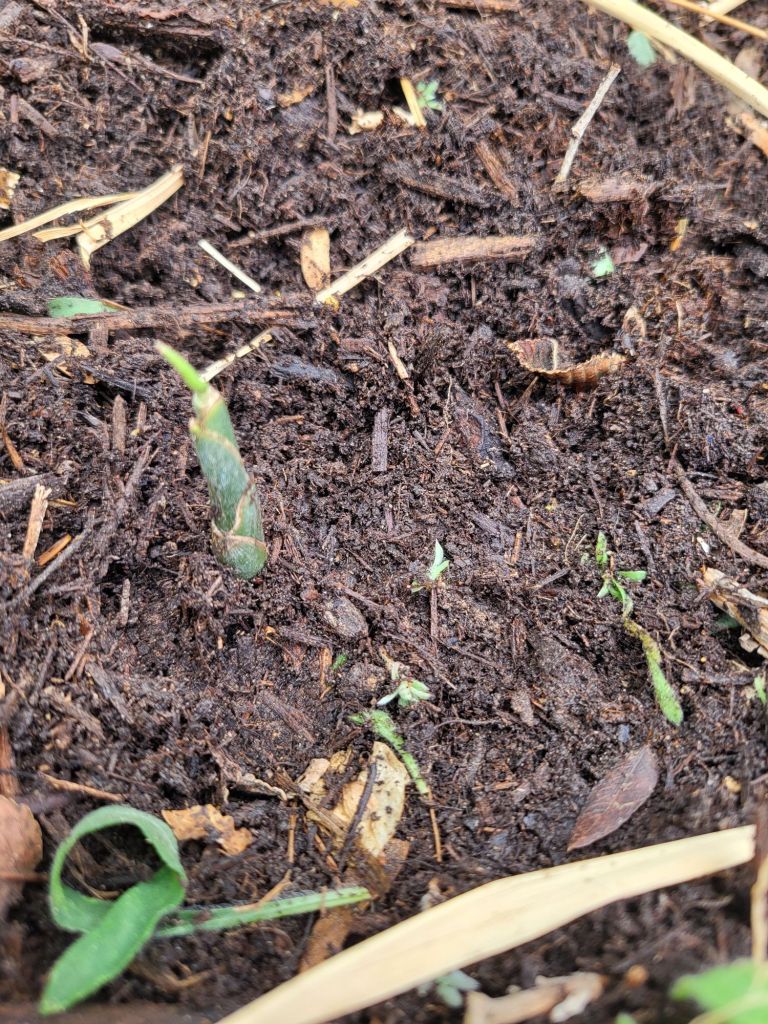
Much to my surprise and delight, they had sprouted and looked really healthy. I broke off several of the shoots thing I’d end up with a lot of ginger. However, none of them survived. So I’ve planted the entire thing.
Ginger – that knobby, fragrant rhizome that adds a zing to everything from stir-fries to soothing teas.
Did you know you can actually grow your own ginger, even if you don’t live in a tropical climate?
While it thrives in warmth and humidity, with a little care and the right techniques, you can cultivate this flavorful spice right in your own yard.
Imagine the satisfaction of harvesting your own fresh ginger, bursting with flavor and aroma, just steps from your kitchen.
Whether you have a garden or a sunny windowsill, growing ginger can be a fun and rewarding horticultural adventure.”)
Choosing Your Ginger: Start with the right root.
The journey begins with selecting a healthy ginger rhizome to plant. Here’s what to look for:
* Organic is Best: Opt for organic ginger from a grocery store or purchase seed ginger from a reputable nursery. Non-organic ginger might have been treated with growth inhibitors.
* Look for “Eyes”: Choose a rhizome that has visible growth buds, also known as “eyes.” These are small bumps that look like they might sprout.
* Healthy and Firm: The rhizome should be firm to the touch, not soft, shriveled, or moldy.
(Tip for local conditions: “Given our Kansas climate, starting ginger indoors is highly recommended, especially to give it a good head start before the warmer months arrive.”)
Planting Your Ginger: Patience is a Virtue
Once you have your healthy ginger rhizome, it’s time to get planting:
* Prepare the Rhizome: You can plant the whole rhizome or cut it into pieces, ensuring each piece has at least one or two “eyes.” Allow the cut pieces to air dry for a day or two to help prevent rot.
* Choose Your Container (Indoors) or Location (Outdoors):
* Indoors: Select a pot that is at least 12 inches deep and wide, as ginger roots spread horizontally. Make sure it has good drainage.
* Outdoors: Choose a spot that receives partial shade, especially during the hottest part of the day. The soil should be rich, well-draining, and slightly acidic.
* Planting: Place the ginger piece(s) about 2-4 inches deep with the “eyes” facing upwards.
* Watering: Water gently but thoroughly after planting. Keep the soil consistently moist but not waterlogged.
* Warmth and Humidity: Ginger thrives in warm temperatures (ideally between 70-85°F or 21-29°C) and high humidity. Indoors, you might need to mist your plant occasionally, especially during dry periods. Outdoors, choose a sheltered location.
(Consider local timing: “In Syracuse, start your ginger indoors in late winter or early spring (February-March) to give it ample time to grow before the cooler fall temperatures arrive.”)
Nurturing Your Ginger: A Little TLC Goes a Long Way
As your ginger grows, here’s how to keep it happy:
* Watering: Continue to water regularly, keeping the soil consistently moist. Reduce watering slightly in the fall as the plant’s growth slows down.
* Fertilizing: You can feed your ginger plant with a balanced organic fertilizer every 4-6 weeks during the growing season.
* Pest and Disease Control: Ginger is relatively pest and disease-resistant. However, keep an eye out for common indoor plant pests like spider mites or aphids and address them promptly if they appear.
* Patience! Ginger takes time to mature. You’ll likely see shoots emerge within a few weeks, but it can take several months for the rhizomes to develop significantly.
(Outdoor considerations for Kansas: “If you move your potted ginger outdoors for the summer, choose a spot with protection from strong winds and direct afternoon sun. Be prepared to bring it back indoors once nighttime temperatures start to consistently drop below 50°F (10°C).”)
Harvesting Your Spicy Reward: The Sweet Smell of Success
You can start harvesting small pieces of ginger about 8-10 months after planting.
* Gentle Digging: Carefully dig around the edges of your plant to unearth some of the rhizomes. You can break off a piece and leave the rest of the plant to continue growing.
* Full Harvest: For a larger harvest, you can wait until the foliage starts to die back in the fall. Dig up the entire plant and harvest the rhizomes.
(Tip for continuous harvest: “If you’re growing ginger in containers indoors, you can often harvest small pieces from the side as needed, allowing the plant to continue producing.”)
Beyond the Root: Enjoying Your Homegrown Ginger
Freshly harvested ginger has a more intense and vibrant flavor than store-bought.
Use it in your favorite recipes, brew a warming ginger tea, or even try pickling it. The possibilities are endless!
Growing your own ginger is a testament to the fact that you don’t need a tropical paradise to cultivate exotic flavors.
With a little care and attention, you can bring the warmth and spice of homegrown ginger right to your kitchen.
Have you ever tried growing ginger? Share your tips and experiences in the comments below!
