What are Jerusalem Artichokes?
Despite their name, Jerusalem artichokes are not artichokes at all! They’re actually tubers of a sunflower-like plant, native to North America.
These starchy, nutty-flavored tubers have gained popularity due to their health benefits and unique taste.
I had a small patch many years ago when I lived out on the farm. I enjoyed eating them and I like the way they looked.
Ever since I moved away, I wanted to grow some more, but until recently, I wasn’t able to find any.
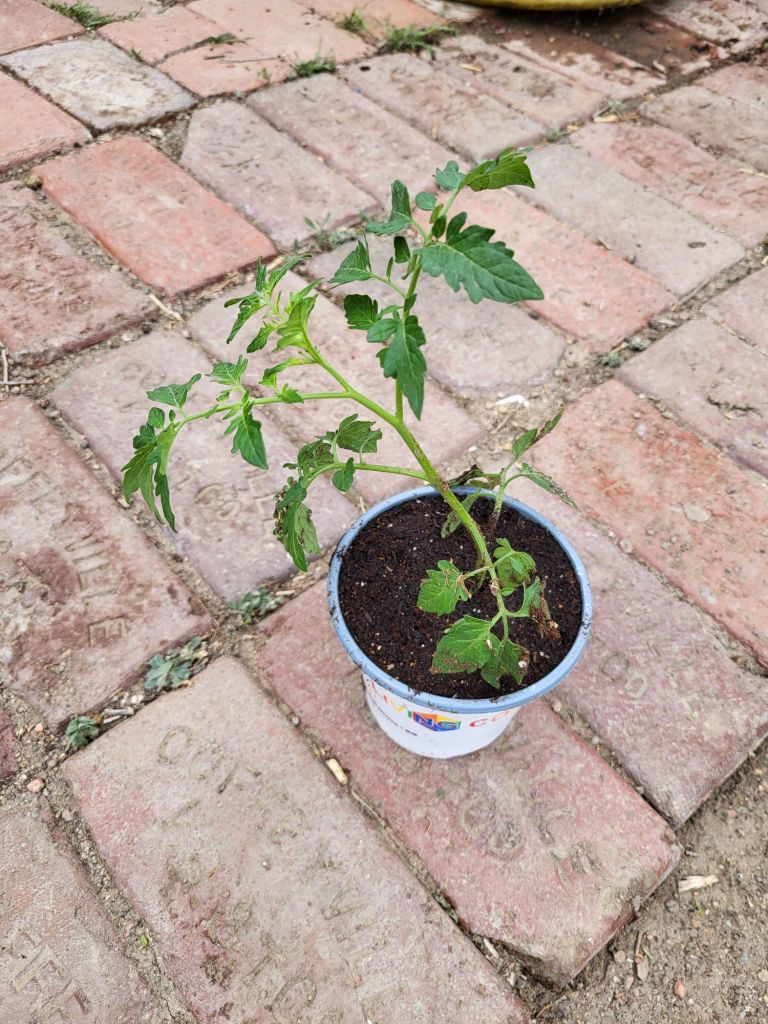
I found someone selling starts on eBay and decided I’d give them a go. It started out well, all of the tubers parts started to grow. However, about half died before I could get them planted.
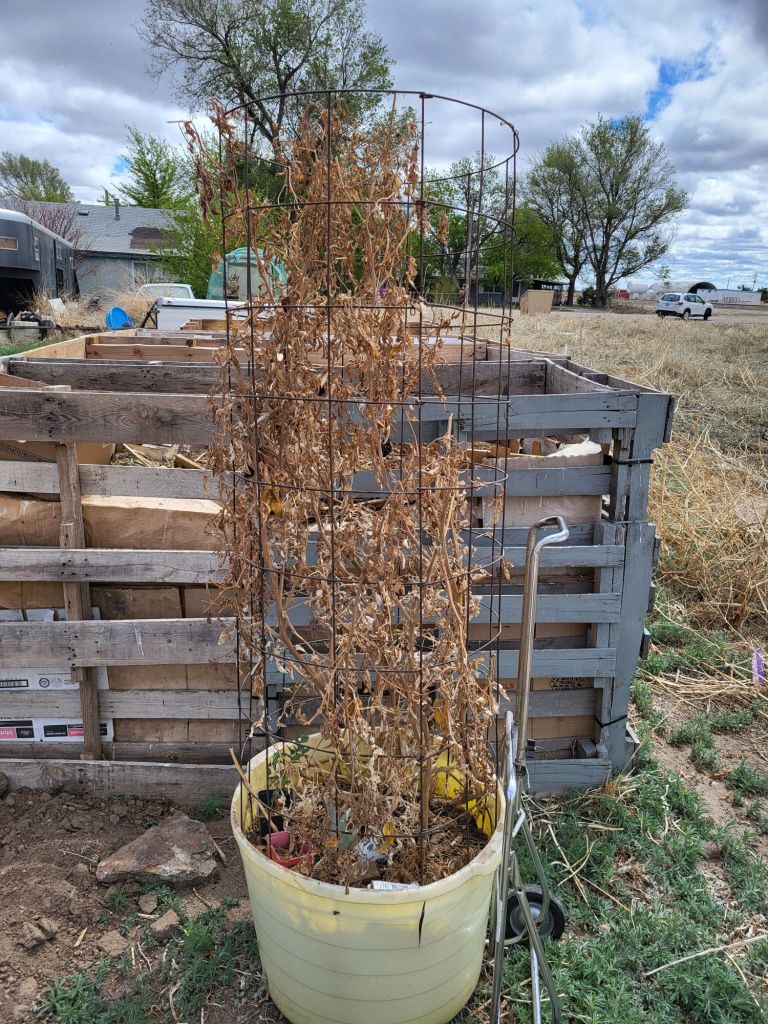
Out of the half that lived, there were six. Half of those died after being put outside, it just got way to hot to fast, that being said three are doing well and look to be starting to spread. I won’t eat any this year and maybe not even next year.
I plan on digging next spring and starting several other small patches. I figure the more spots they are in, the more likely they will grow and spread, which is exactly what I want for our food forest.
Growing Jerusalem Artichokes
Jerusalem artichokes are a low-maintenance crop that can thrive in various soil conditions. Here’s a brief guide to growing them:
* Planting: Plant tubers in early spring, about 6 inches deep. They can be planted close together as they spread underground.
* Care: Jerusalem artichokes require minimal care. They need regular watering, especially during dry periods.
* Harvest: You can start harvesting tubers in late fall or early winter. Simply dig them up using a garden fork. Keep in mind that they can be difficult to remove, as they form a network of underground tubers.
Health Benefits of Jerusalem Artichokes
Jerusalem artichokes are packed with nutrients and health benefits. Some of the key benefits include:
* Prebiotic fiber: The tubers contain inulin, a type of prebiotic fiber that promotes gut health.
* Low glycemic index: Jerusalem artichokes have a low glycemic index, making them a suitable choice for people with diabetes.
* Nutrient-rich: They are a good source of potassium, iron, and vitamin C.
Culinary Uses of Jerusalem Artichokes
Jerusalem artichokes can be used in various dishes, both sweet and savory.
Here are some ideas:
* Roasted: Roast them with other vegetables for a delicious side dish.
* Mashed: Mash them into a creamy puree, similar to mashed potatoes.
* Soup: Add them to soups and stews for a hearty and flavorful meal.
* Fries: Cut them into fries and bake or air fry for a healthier alternative to traditional French fries.
* Sweet treats: Use Jerusalem artichokes to make fritters, pancakes, or even ice cream.
A Note on Gas
One thing to keep in mind is that Jerusalem artichokes contain inulin, which can sometimes cause gas and bloating. If you’re sensitive to this, you may want to start with smaller portions.
Cooking the tubers can also help reduce this effect.
Jerusalem artichokes offer a unique and delicious addition to your garden and diet. With their health benefits and versatility in the kitchen, they’re a crop worth trying.